 |
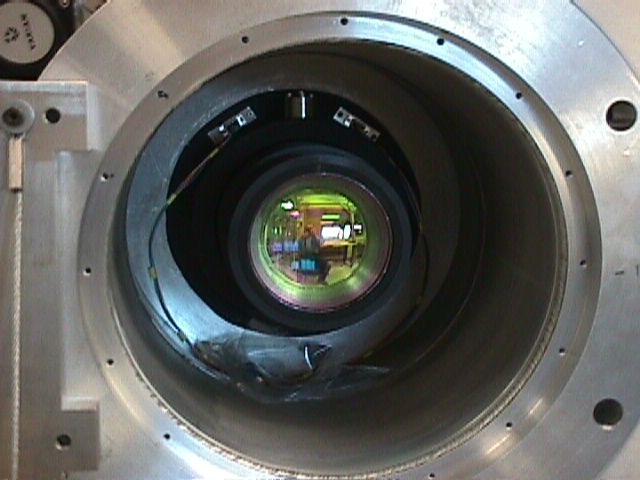
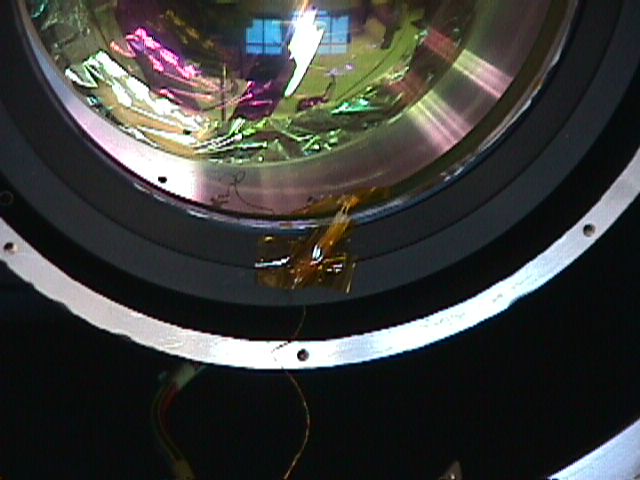
After removing collimator front dust cover. Lens seen is L1 (ZnS) of collimator. |
 |
After installing support ring that will hold the decker unit |
 |
After installing the front cold shield. This shield attaches to the cold bulkhead by descending through the G10 collar that connects the warm and cold bulkheads. The fancy looking long tool holds a hex-head driver to allow tightening the cold shield mount screws some 18" deep into an otherwise unreachable zone. |
 |
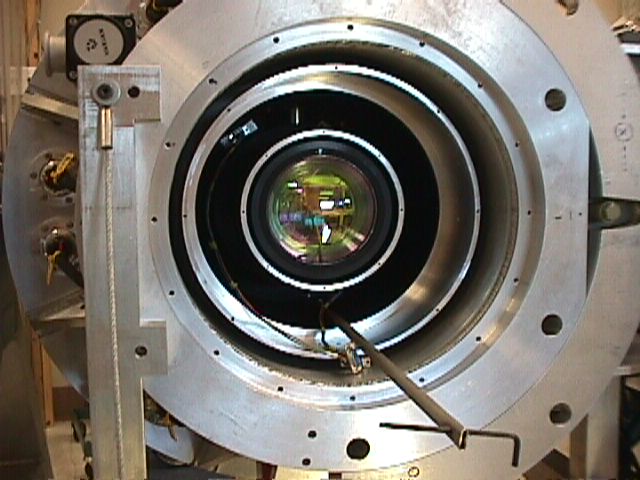
Dust cover back onto collimator temporarily |
 |
Silicon diode temperature sensor attached to the front lens of the collimator. Clemens seen taking the picture. |
 |
Details of the Silicon sensor mounting on the lens. We wanted to know how long it took for this lens to cool down compared to the metal parts of the instrument. |
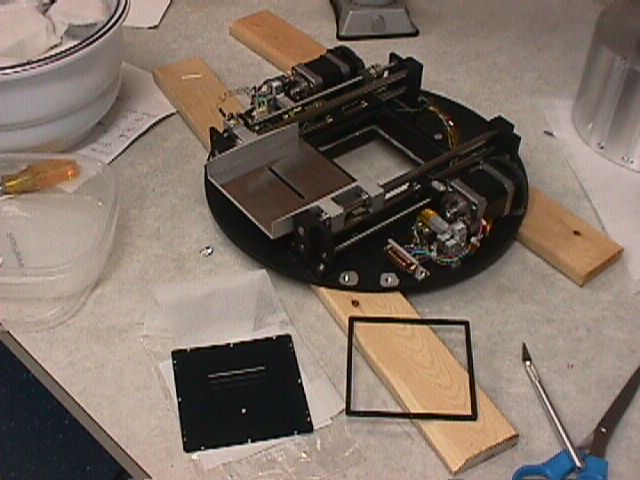 |
Decker unit, about to accept a slit plate and slit plate cover onto the slit plate car. |
 |
Slit/Decker unit, after installation of slit plate. |
 |
Details of the slit plate mounting system. There are mounting pins to ensure proper registration of the slit plate with the carrier and the box frame with its screws to tie down the slit plate. |
 |
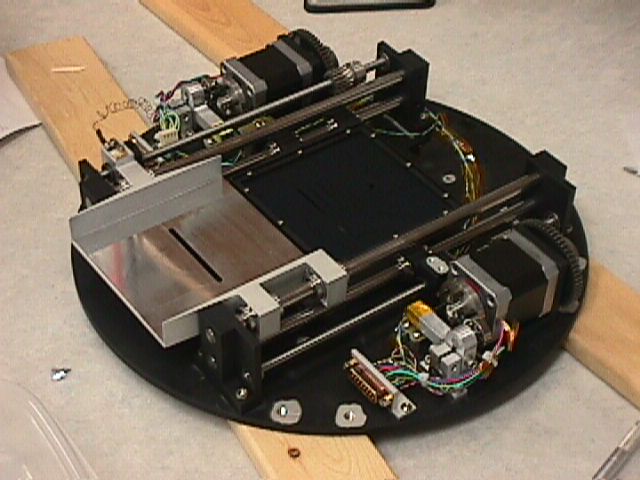
Slit/Decker unit mounted on the collimator unit. Note the East-West configuration of the decker slit. This was swapped to NS later. |
 |
Another view |
 |
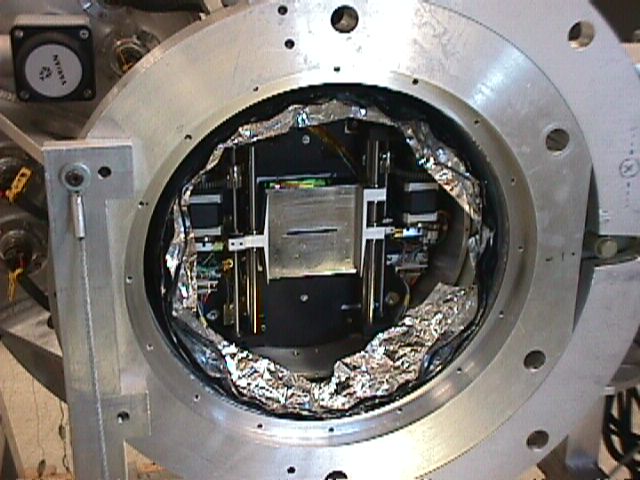
Front cold shield cover, with box baffle system installed. Note decker car. |
 |
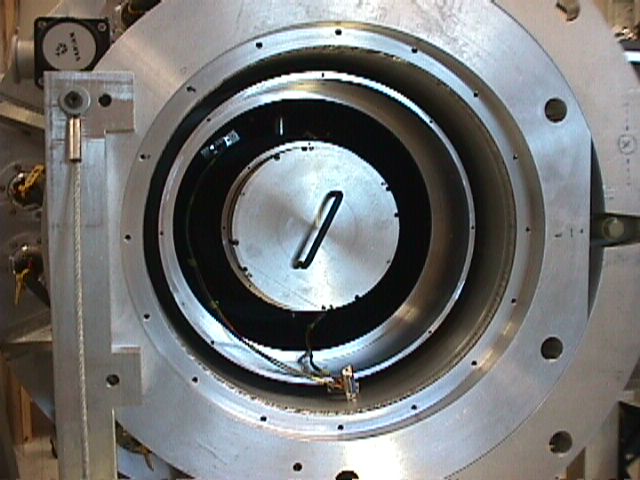
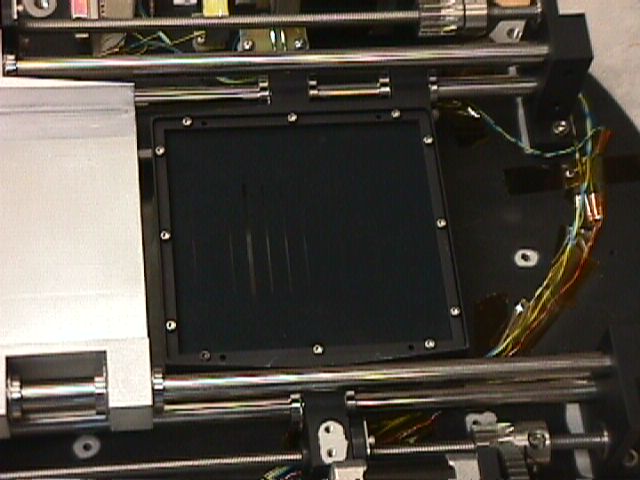
Decker car removed, revealing slit plate on slit car |
 |
Decker and slit cars removed, revealing full field and collimator L1 lens. |
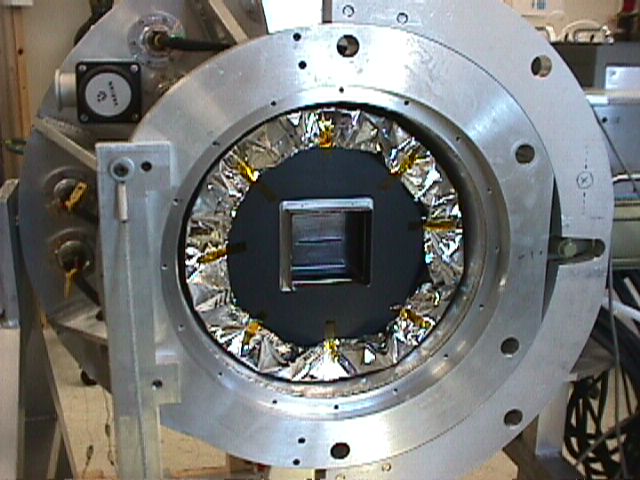 |
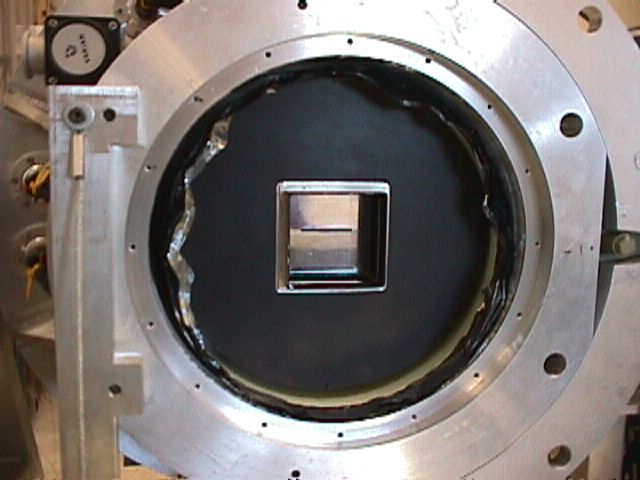
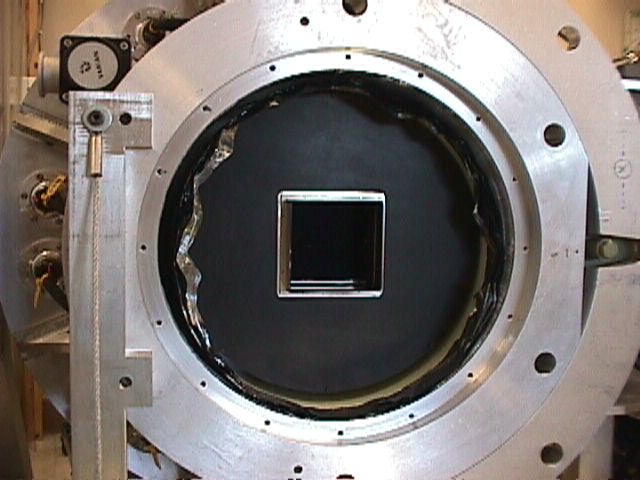
Front "floating" shield inserted. This is a thin G10 cylinder with about 100 layers of MLI wrapped around it to act as a strong radiation barrier. |
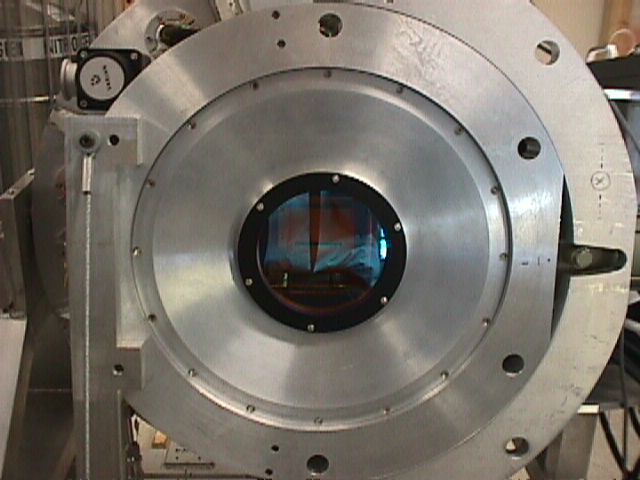 |
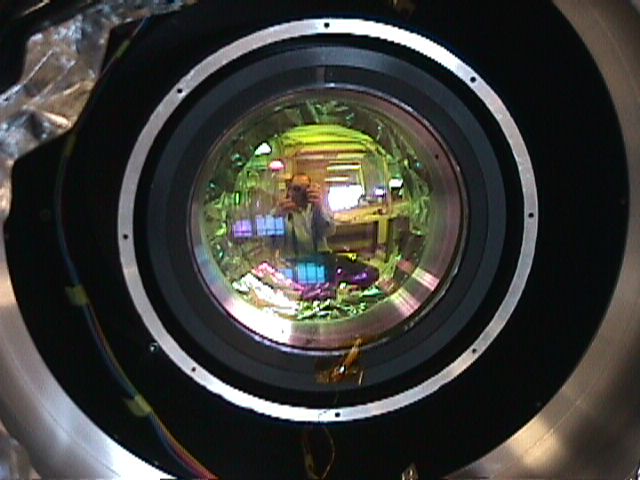
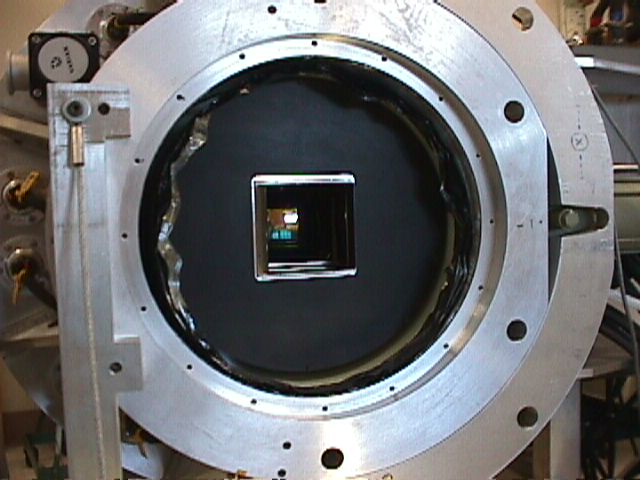
Mimir front vacuum cover and window installed. The decker can just be seen through the orange ZnSe window. |
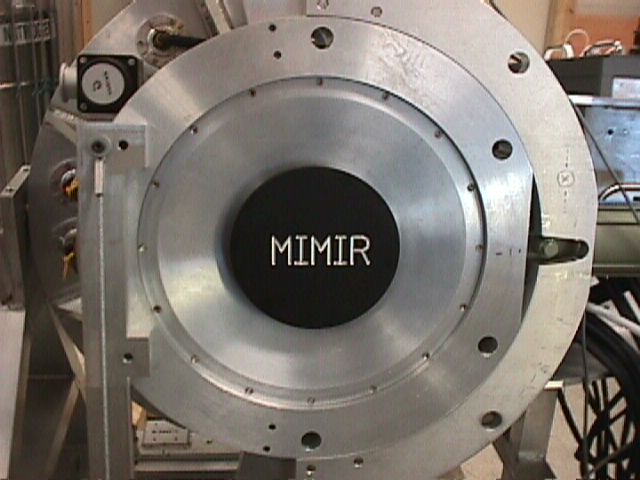 |
Front dust cover installed |