In
this step we take .pdf files of books that have been scanned
and create .doc files using Abbyy PDF Transformer.
Step
1: Open the .pdf file using Acrobat Reader
-
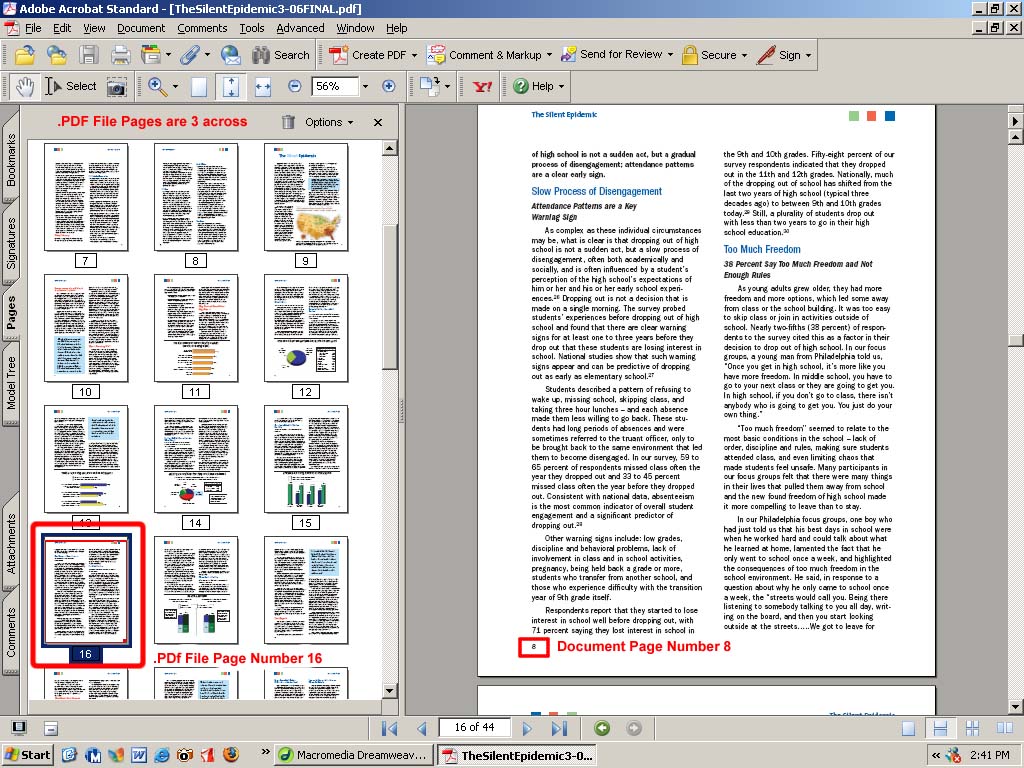
Using
the “pages” tab on the left side of the
document adjust the “pages” column so that
you can see the document pages three (3) across.
-
You
will also be able to see the current page on the right.
-
NOTE – the page numbers that appear under each
page picture on the left represent the actual page numbers
within the .pdf file itself. They DO NOT correspond
to the page numbers printed on the text pages appearing
on the right. It is very important you understand the
difference as both numbers are important for different
tasks.
Step
2: Open up the program Abbyy .PDF Transformer [program to
transform .pdf to .doc]

-
Click
“next”
to select the file you want to convert [this
is the same file that is currently open in Acrobat Reader]
-
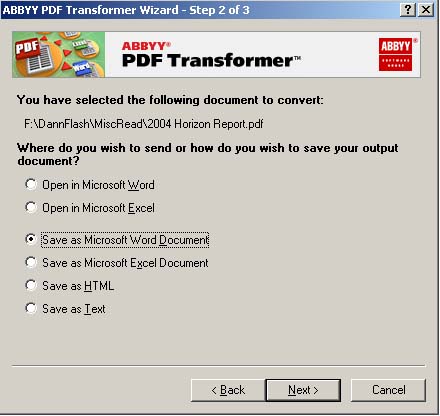
You will next be asked what format you want the file you
want to save the output document.
+ For the process
you are learning now please choose “Save
as Microsoft Word Document” and press “next”
-
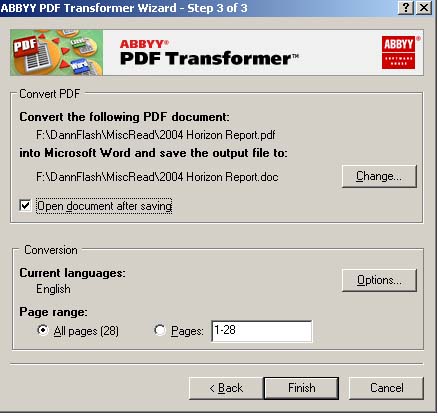
Following this selection – you will be presented
with choices for what you want to do with the document
and which pages you want to work with.
Refer to the following image for the Top and Bottom halves
of the program box
-
Start
with the bottom half of the box at “Page
Range” [This is where your understanding
of the two different numbering systems is important]
In the box you will be putting in .pdf file pages.
1. Return to the open .pdf document on screen.
2. Determine which page file numbers correspond to the
section of the textbook you are converting.
+ for example – chapter one of the textbook (right
side of screen) may be text pages 1-20 – BUT –
the corresponding .pdf file pages may be 15-35.
3. Put the appropriate .pdf file page numbers into the
“pages” text box.
-
Next
move to the top half of the box and determine
where you want to save the file after
conversion – this will also involve naming the file.
1. Press the “change” button
and maneuver to save the .doc documents you are creating
in the same folder as the .pdf document.
2 . If this is the first file you are creating for this
particular textbook you will need to create a new folder.
+ Name this one the same as the textbook and add “[raw
doc]”
Step
3: Naming the Files
File
Name Conventions [*Note
– for purposes of DAISY production – use_underscore_between_words
in a file name]
Change the name
of the file to be created to match the portion of the .pdf
file/textbook you are converting.
1.
The first saved file will be renamed “00_Book_Title_Front_Matter”
and will include all materials prior to the first chapter.
2.
The second and subsequent files will be labeled and named
in a similar fashion after the chapters:
01_Book_Title_Chapter_1
02_Book_Title_Chapter_2
3. The final file of any book will be labeled
"99_Book_Title_End_Matter" and
will consist of the endnotes, index, bibliography, etc.
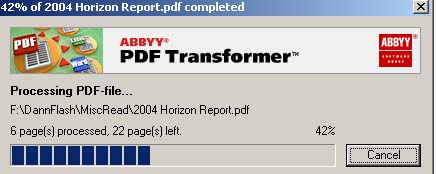
When
you complete choosing .pdf file page numbers, naming the
file to be created, and maneuvering to where it will be
saved, press the “finish” button.
Watch the program-run line move across the screen as the
transference takes place then start over again with the
next portion of the textbook.
*Please
also note that you do have the hard copy of the textbook
on hand. Use this to keep track of where you are. Mark up
the pages, make notes as necessary.
These hard copies will not be returned to the bookstore
and are a valuable tool – use them!
**This is also especially important as
you may not have time to finish an assignment and another
other staff member picking up the work will have to know
where you left off.
The sticky notes, pens, paperclips, etc. are there to be
used.
-
IMPORTANT: For every text
to be converted to a DAISY book include the following
information in the 00_Front_Matter section of
the book.
Place it just prior to the copyright information
for the textbook:
This DAISY book was produced by the Boston
University Office of Disability Services using
the Dolphin EasePublisher software,
and may be used exclusively by students with permission
from BU ODS. It has been produced in a specialized
format for a student with a disability and/or
print impairment. Any further reproduction or
distribution of this material is is strictly prohibited
and is an infringement on copyright law.
-
Date of Original Scanning
[mm/dd/yyyy]
-
Date of DAISY Creation
[mm/dd/yyyy]
|
|